Elevate Your Home’s Aesthetic with Seamless Drywall Finishing and Color Harmony
Introduction: The Art of Transformative Painting
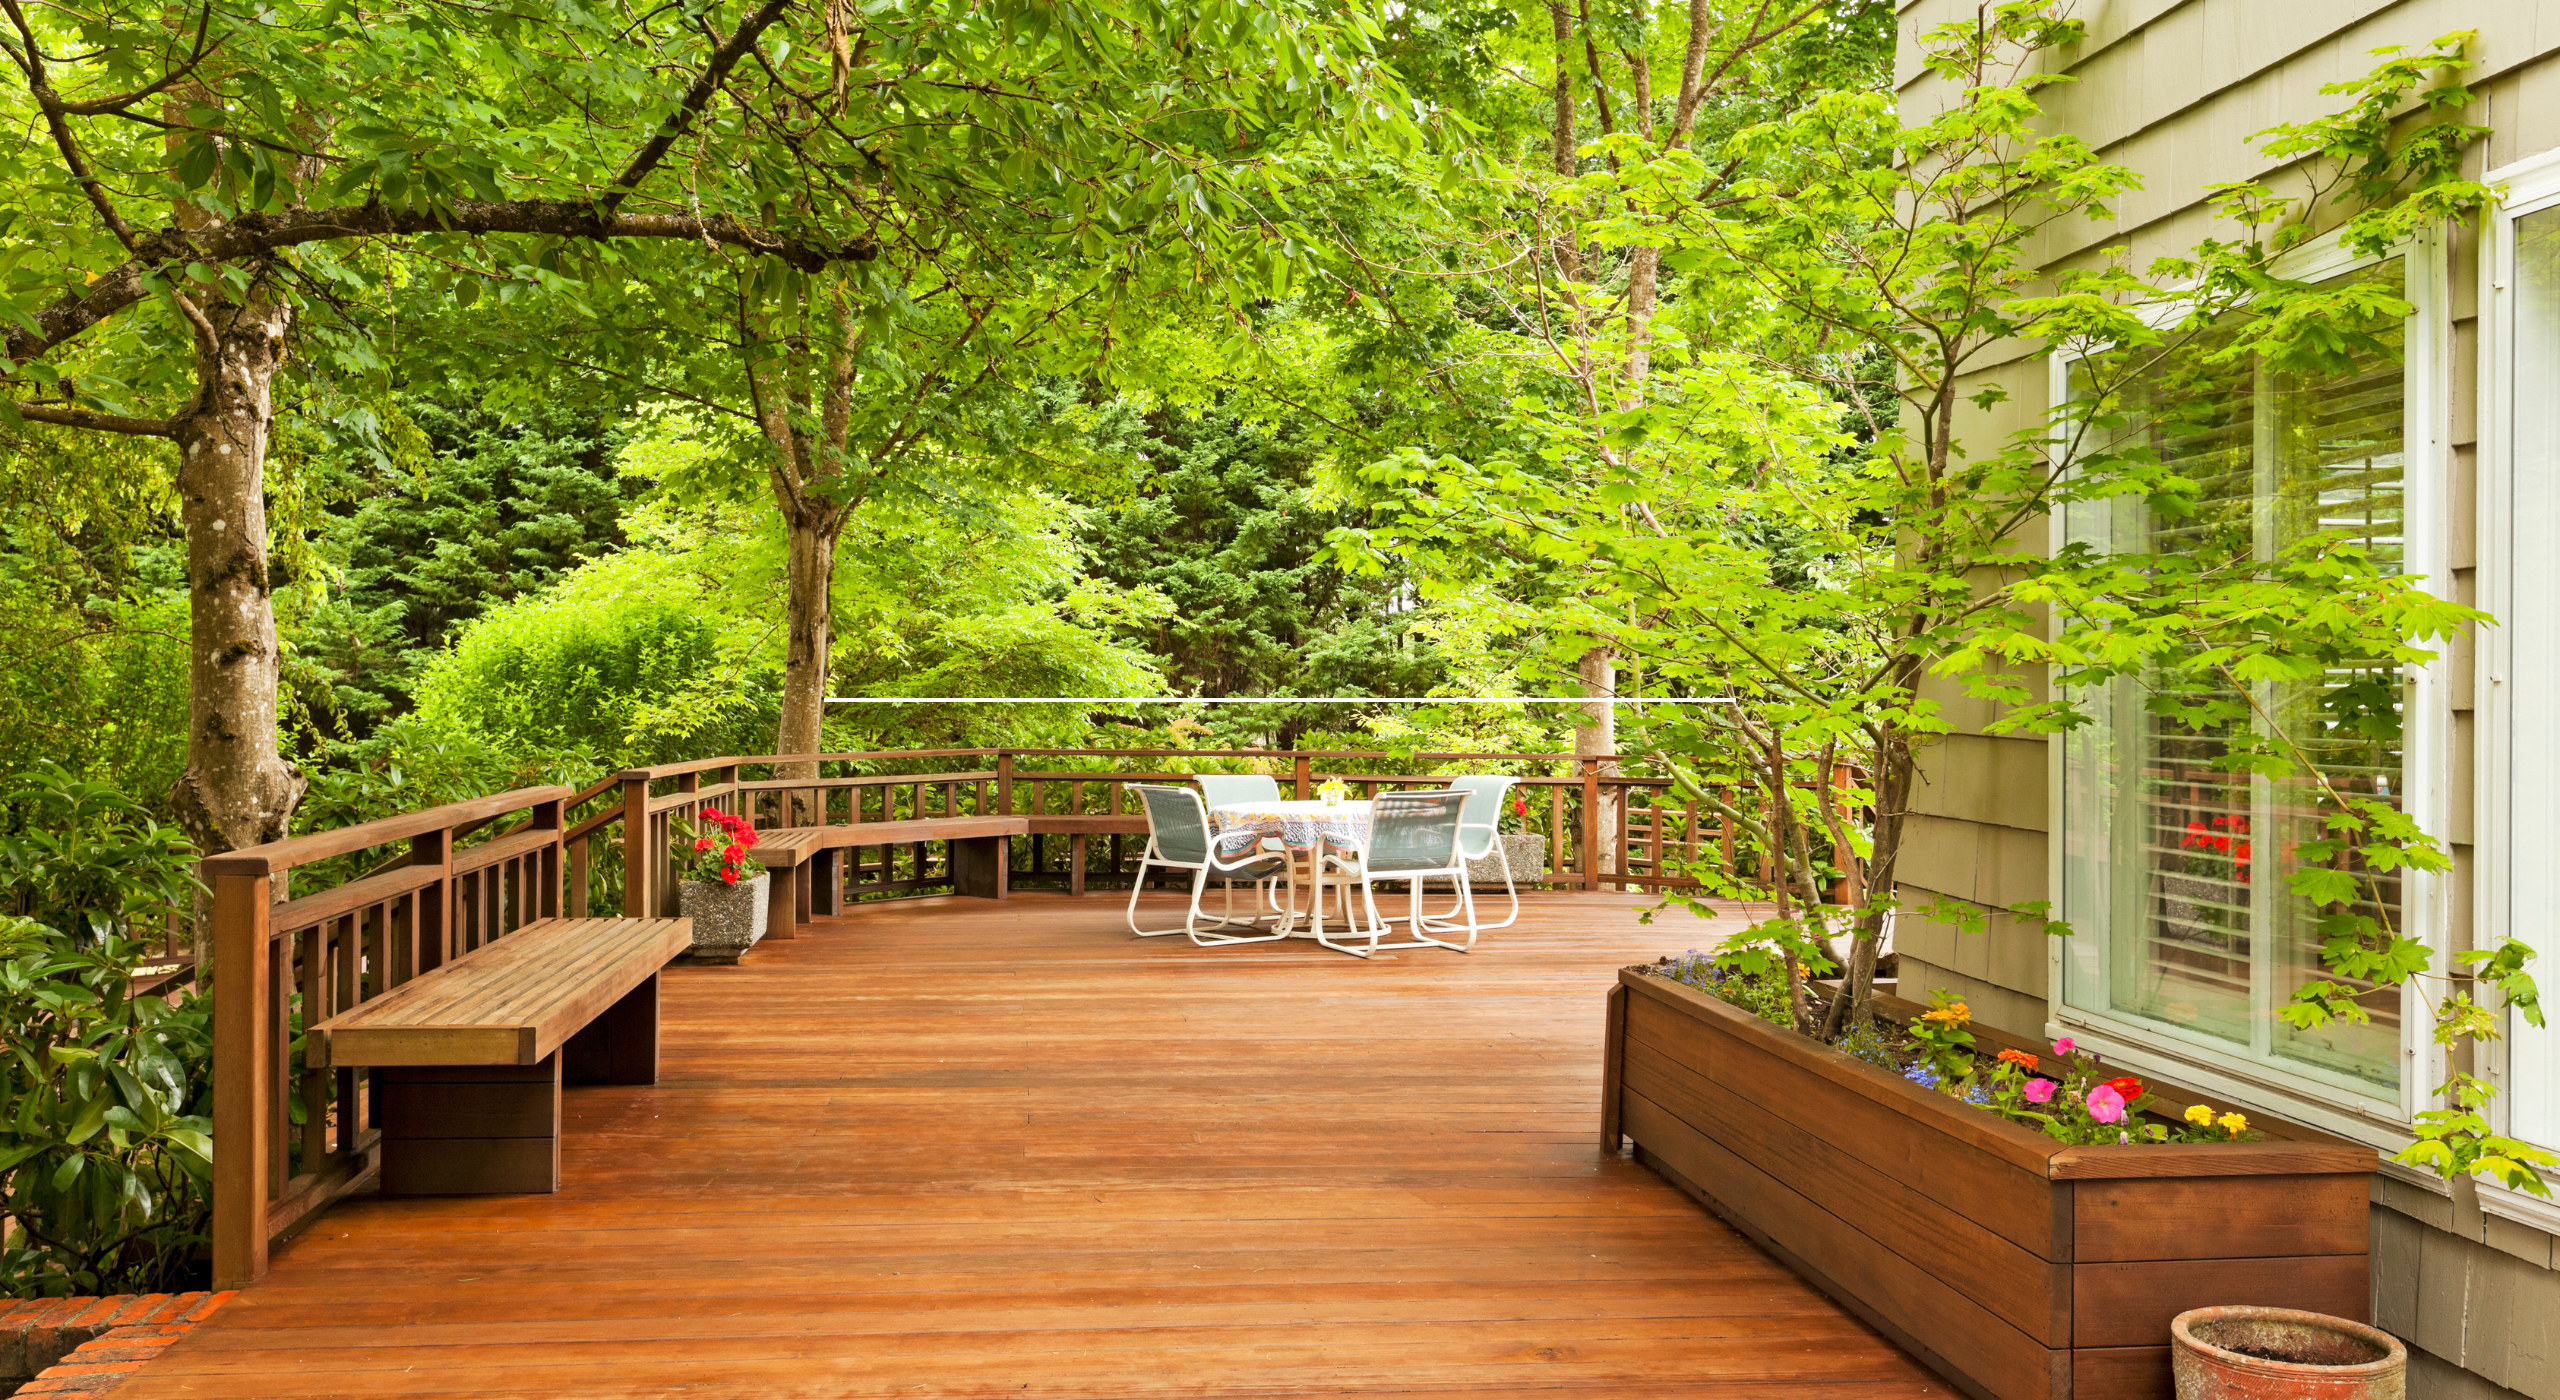
A fresh coat of paint is one of the most cost-effective ways to revitalize your home, yet its impact is often underestimated. Whether you’re refreshing a single room or tackling an entire exterior, painting combines aesthetics with practicality—enhancing curb appeal, protecting surfaces, and reflecting personal style. However, achieving professional-quality results requires more than just a brush and a bucket. From surface preparation to color psychology, every step influences the final outcome. This article dives into essential techniques and insights to help homeowners and DIY enthusiasts avoid common pitfalls, save time, and create lasting finishes. Let’s explore how to turn your painting project from a chore into a masterpiece.
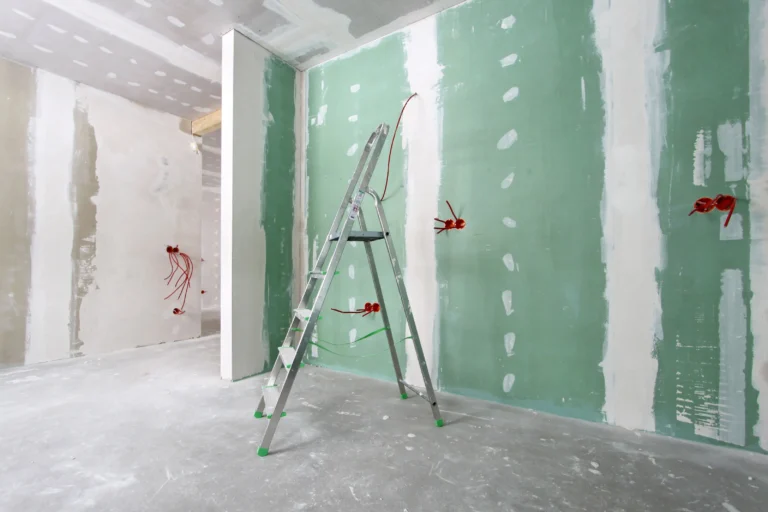
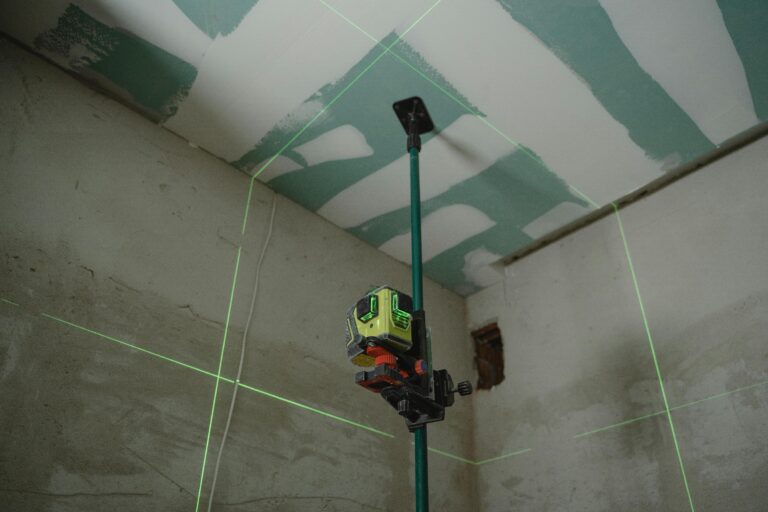
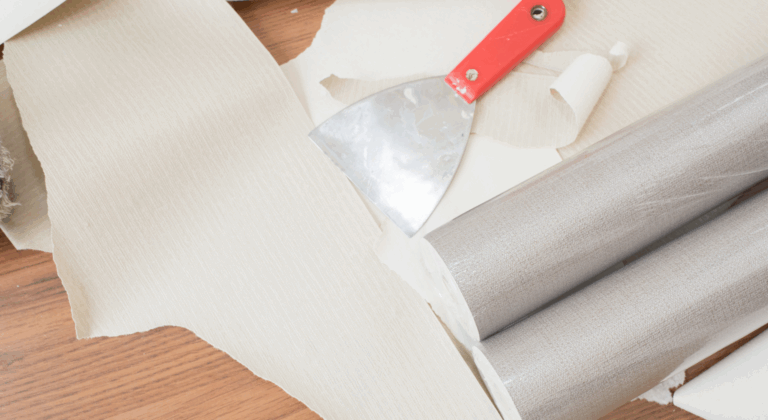
Section 1: The Foundation of Success—Surface Preparation
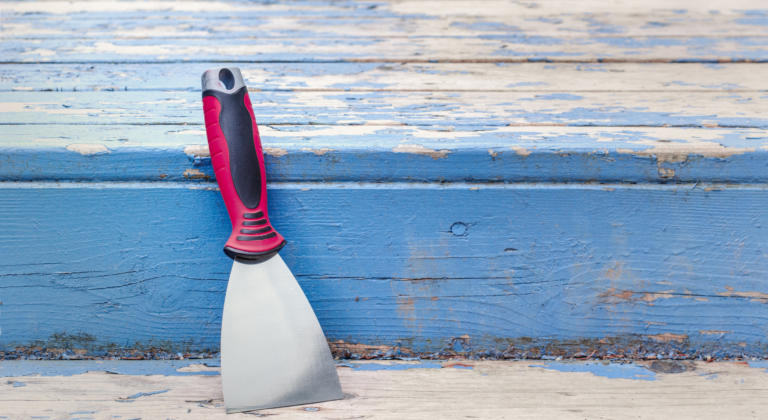
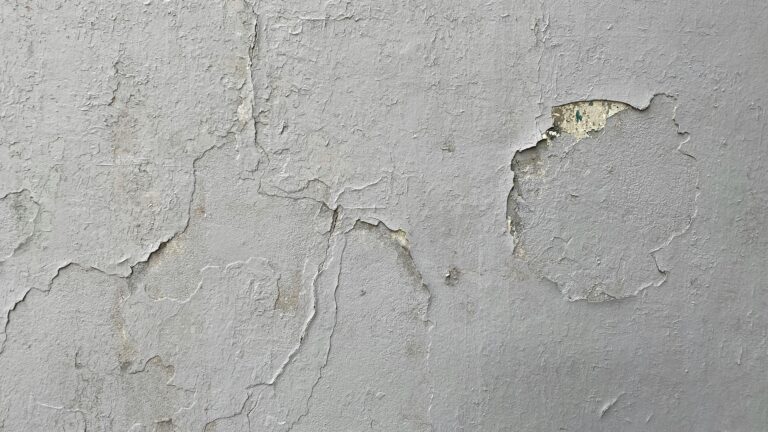
No amount of high-quality paint can compensate for poor preparation. Start by cleaning walls with a mixture of water and mild detergent to remove dust, grease, or mildew. For glossy surfaces, lightly sanding with 120-150 grit sandpaper ensures better paint adhesion. Repair cracks and holes using spackling compound, and sand smooth once dry. Protect floors, trim, and furniture with drop cloths—plastic for floors, canvas for furniture (plastic can cause slipping). Use painter’s tape to mask edges, but remove it before the paint fully dries to prevent peeling. Skipping these steps risks uneven finishes or premature peeling.
Section 2: Choosing the Right Paint and Tools
Paint selection impacts durability and aesthetics. Consider these factors:
- Finish: Flat/matte hides imperfections but is less washable. Eggshell or satin works well for living areas. Semi-gloss is ideal for trim and bathrooms.
- Type: Latex (water-based) dries quickly and is eco-friendly. Oil-based offers a harder finish for high-traffic areas.
- Color: Test samples in natural light. Dark hues can shrink spaces, while neutrals add flexibility.
Invest in quality tools: angled brushes for cutting-in, microfiber rollers for smooth walls, and extendable poles for ceilings. Cheap brushes shed bristles and create streaks.
Section 3: Mastering Application Techniques
Apply paint in the “W” or “M” pattern for even roller coverage. Start with edges using a brush (cutting-in), then fill larger areas. Maintain a “wet edge” to avoid lap marks—work in small sections and blend as you go. For ceilings, paint parallel to the primary light source to minimize visible roller marks. Two thin coats are better than one thick coat, which can drip or sag. Allow drying time as specified on the paint can (usually 2–4 hours). Humidity and temperature affect drying; avoid painting in direct sunlight or below 50°F (10°C).
Section 4: Troubleshooting Common Challenges
Even seasoned painters face issues. Here’s how to address them:
- Drips/Runs: Sand the area smooth once dry, then repaint.
- Uneven Color: Stir paint thoroughly and maintain consistent thickness.
- Brush Marks: Use a high-quality synthetic brush and avoid overworking the paint.
- Peeling: Often caused by moisture or poor adhesion. Strip the area, prime, and repaint.
Conclusion: Elevate Your Space with Confidence
Painting is equal parts science and art. By prioritizing preparation, selecting appropriate materials, and refining your technique, you’ll achieve results that rival professional work. Remember: patience pays off—rushing leads to costly fixes. For your next project, start with a small, low-visibility area to test colors and methods. Keep a damp cloth handy for quick cleanups, and don’t hesitate to ask for help with large surfaces like ceilings. With these strategies, your home will not only look refreshed but also gain lasting protection and value. Now, grab that roller and transform your space!