Mastering the Art of Surface Preparation for Professional-Grade Paint Results
10 Essential Painting Tips for a Flawless Home Makeover
A fresh coat of paint is one of the most cost-effective ways to revitalize your home. Whether you’re preparing to sell or simply craving a change, a well-executed paint job can elevate your space, boost curb appeal, and even increase property value. However, achieving professional-looking results requires more than just a steady hand. From uneven coverage to drips and premature peeling, common DIY pitfalls can turn a weekend project into a frustrating ordeal. This article equips you with expert-approved strategies to avoid mistakes, save time, and ensure a finish that looks like it was done by a pro. Let’s dive into the techniques that make all the difference.
1. Prep Like a Pro: The Foundation of Flawless Results
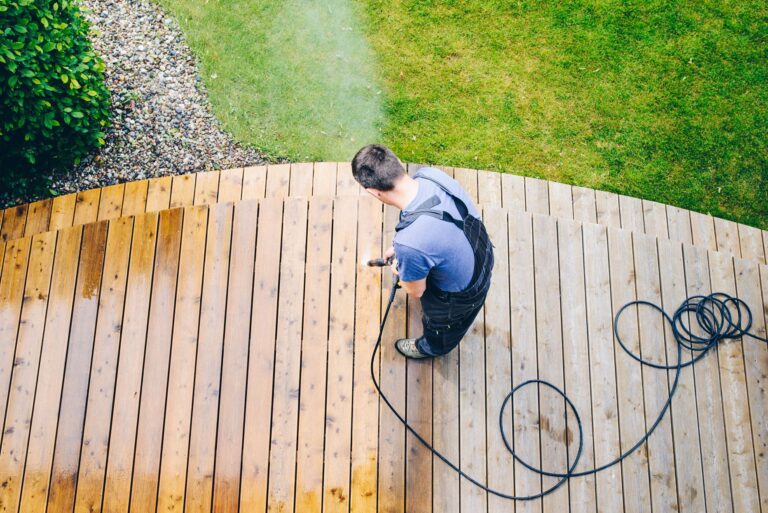
Preparation accounts for 80% of a successful paint job. Start by cleaning walls with a mild detergent to remove dust, grease, or mildew. Repair cracks and holes with spackling paste, sand smooth once dry, and wipe away debris. For glossy surfaces, lightly sand to create a “tooth” for better paint adhesion. Don’t skip primer—it seals porous surfaces, blocks stains, and ensures true color payoff. Pro tip: Use a high-quality primer tailored to your wall type (e.g., stain-blocking for water damage).
2. Choose the Right Tools (and Don’t Skimp on Quality)
Invest in these essentials:
- Brushes: Synthetic bristles for latex paint; natural bristles for oil-based. Angled brushes (2–3 inches) are ideal for cutting in.
- Rollers: Use a ⅜-inch nap for smooth walls, ½-inch for textured surfaces. Microfiber rollers minimize splatter.
- Paint: Opt for premium paints—they offer better coverage, durability, and washability. Eggshell or satin finishes are versatile for most rooms.
Cheap tools shed bristles, leave streaks, and cost more in the long run.
3. Master the Art of Application
Start by “cutting in” edges with a brush before using a roller. Load the brush halfway, and paint a 2–3-inch strip along ceilings, corners, and trim. When rolling, work in 3×3-foot sections using a “W” pattern to distribute paint evenly, then fill in without lifting the roller. Maintain a “wet edge” by overlapping each stroke slightly to prevent lap marks. Apply two thin coats instead of one thick one—this minimizes drips and ensures uniform color.
4. Perfect the Details for a Polished Look
Remove painter’s tape while the paint is still slightly tacky to avoid peeling. For crisp lines, run a putty knife along the tape’s edge before pulling. Inspect walls in natural light for missed spots or imperfections. Clean brushes immediately with soapy water (latex) or mineral spirits (oil-based). Store leftover paint in a sealed jar labeled with the room and date—it’s perfect for touch-ups later.
Conclusion: Your Roadmap to Painting Success
Painting is equal parts preparation, technique, and patience. By prioritizing surface prep, investing in quality tools, and applying paint methodically, you’ll achieve a smooth, long-lasting finish. Remember: Thin coats trump thick layers, and lighting is your best quality-control tool. Ready to start? Tackle a small room first to build confidence. With these tips, your walls will look professionally painted—without the premium price tag. Happy painting!


