Seamless Drywall Repair Techniques for a Perfect Paint Finish
Introduction: A fresh coat of paint is one of the most cost-effective ways to revitalize your home, yet many DIY enthusiasts underestimate the nuances that separate amateur results from professional-quality finishes. Whether you’re refreshing a single room or tackling a full-house makeover, understanding the right techniques, tools, and materials can save time, money, and frustration. This article dives into essential painting strategies that ensure durability, aesthetic appeal, and a smoother workflow. From surface preparation to color psychology, we’ll explore practical insights tailored to homeowners and DIYers. With the right knowledge, you can avoid common pitfalls and achieve results that elevate your space—and maybe even boost your home’s value.
Mastering Surface Preparation
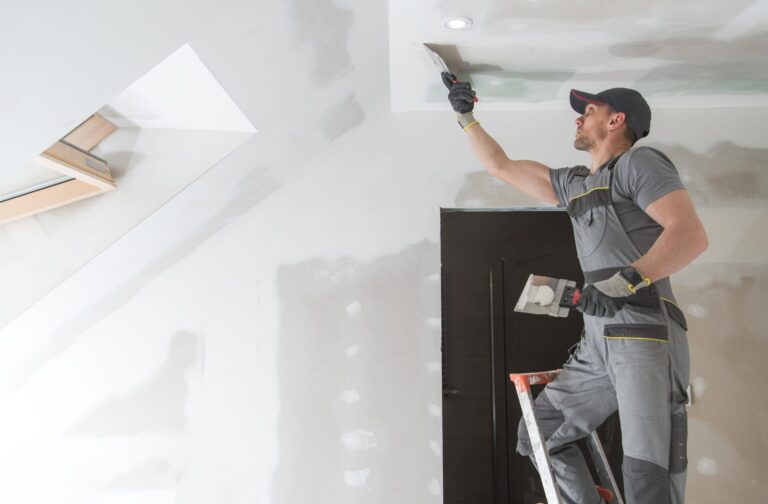
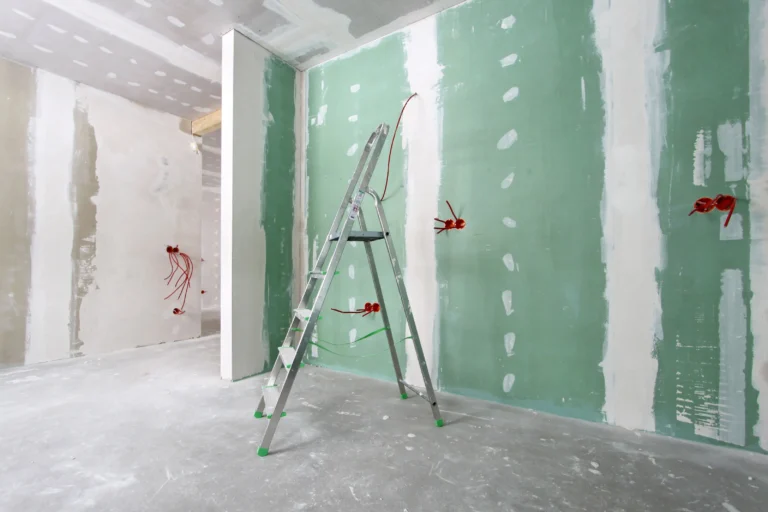
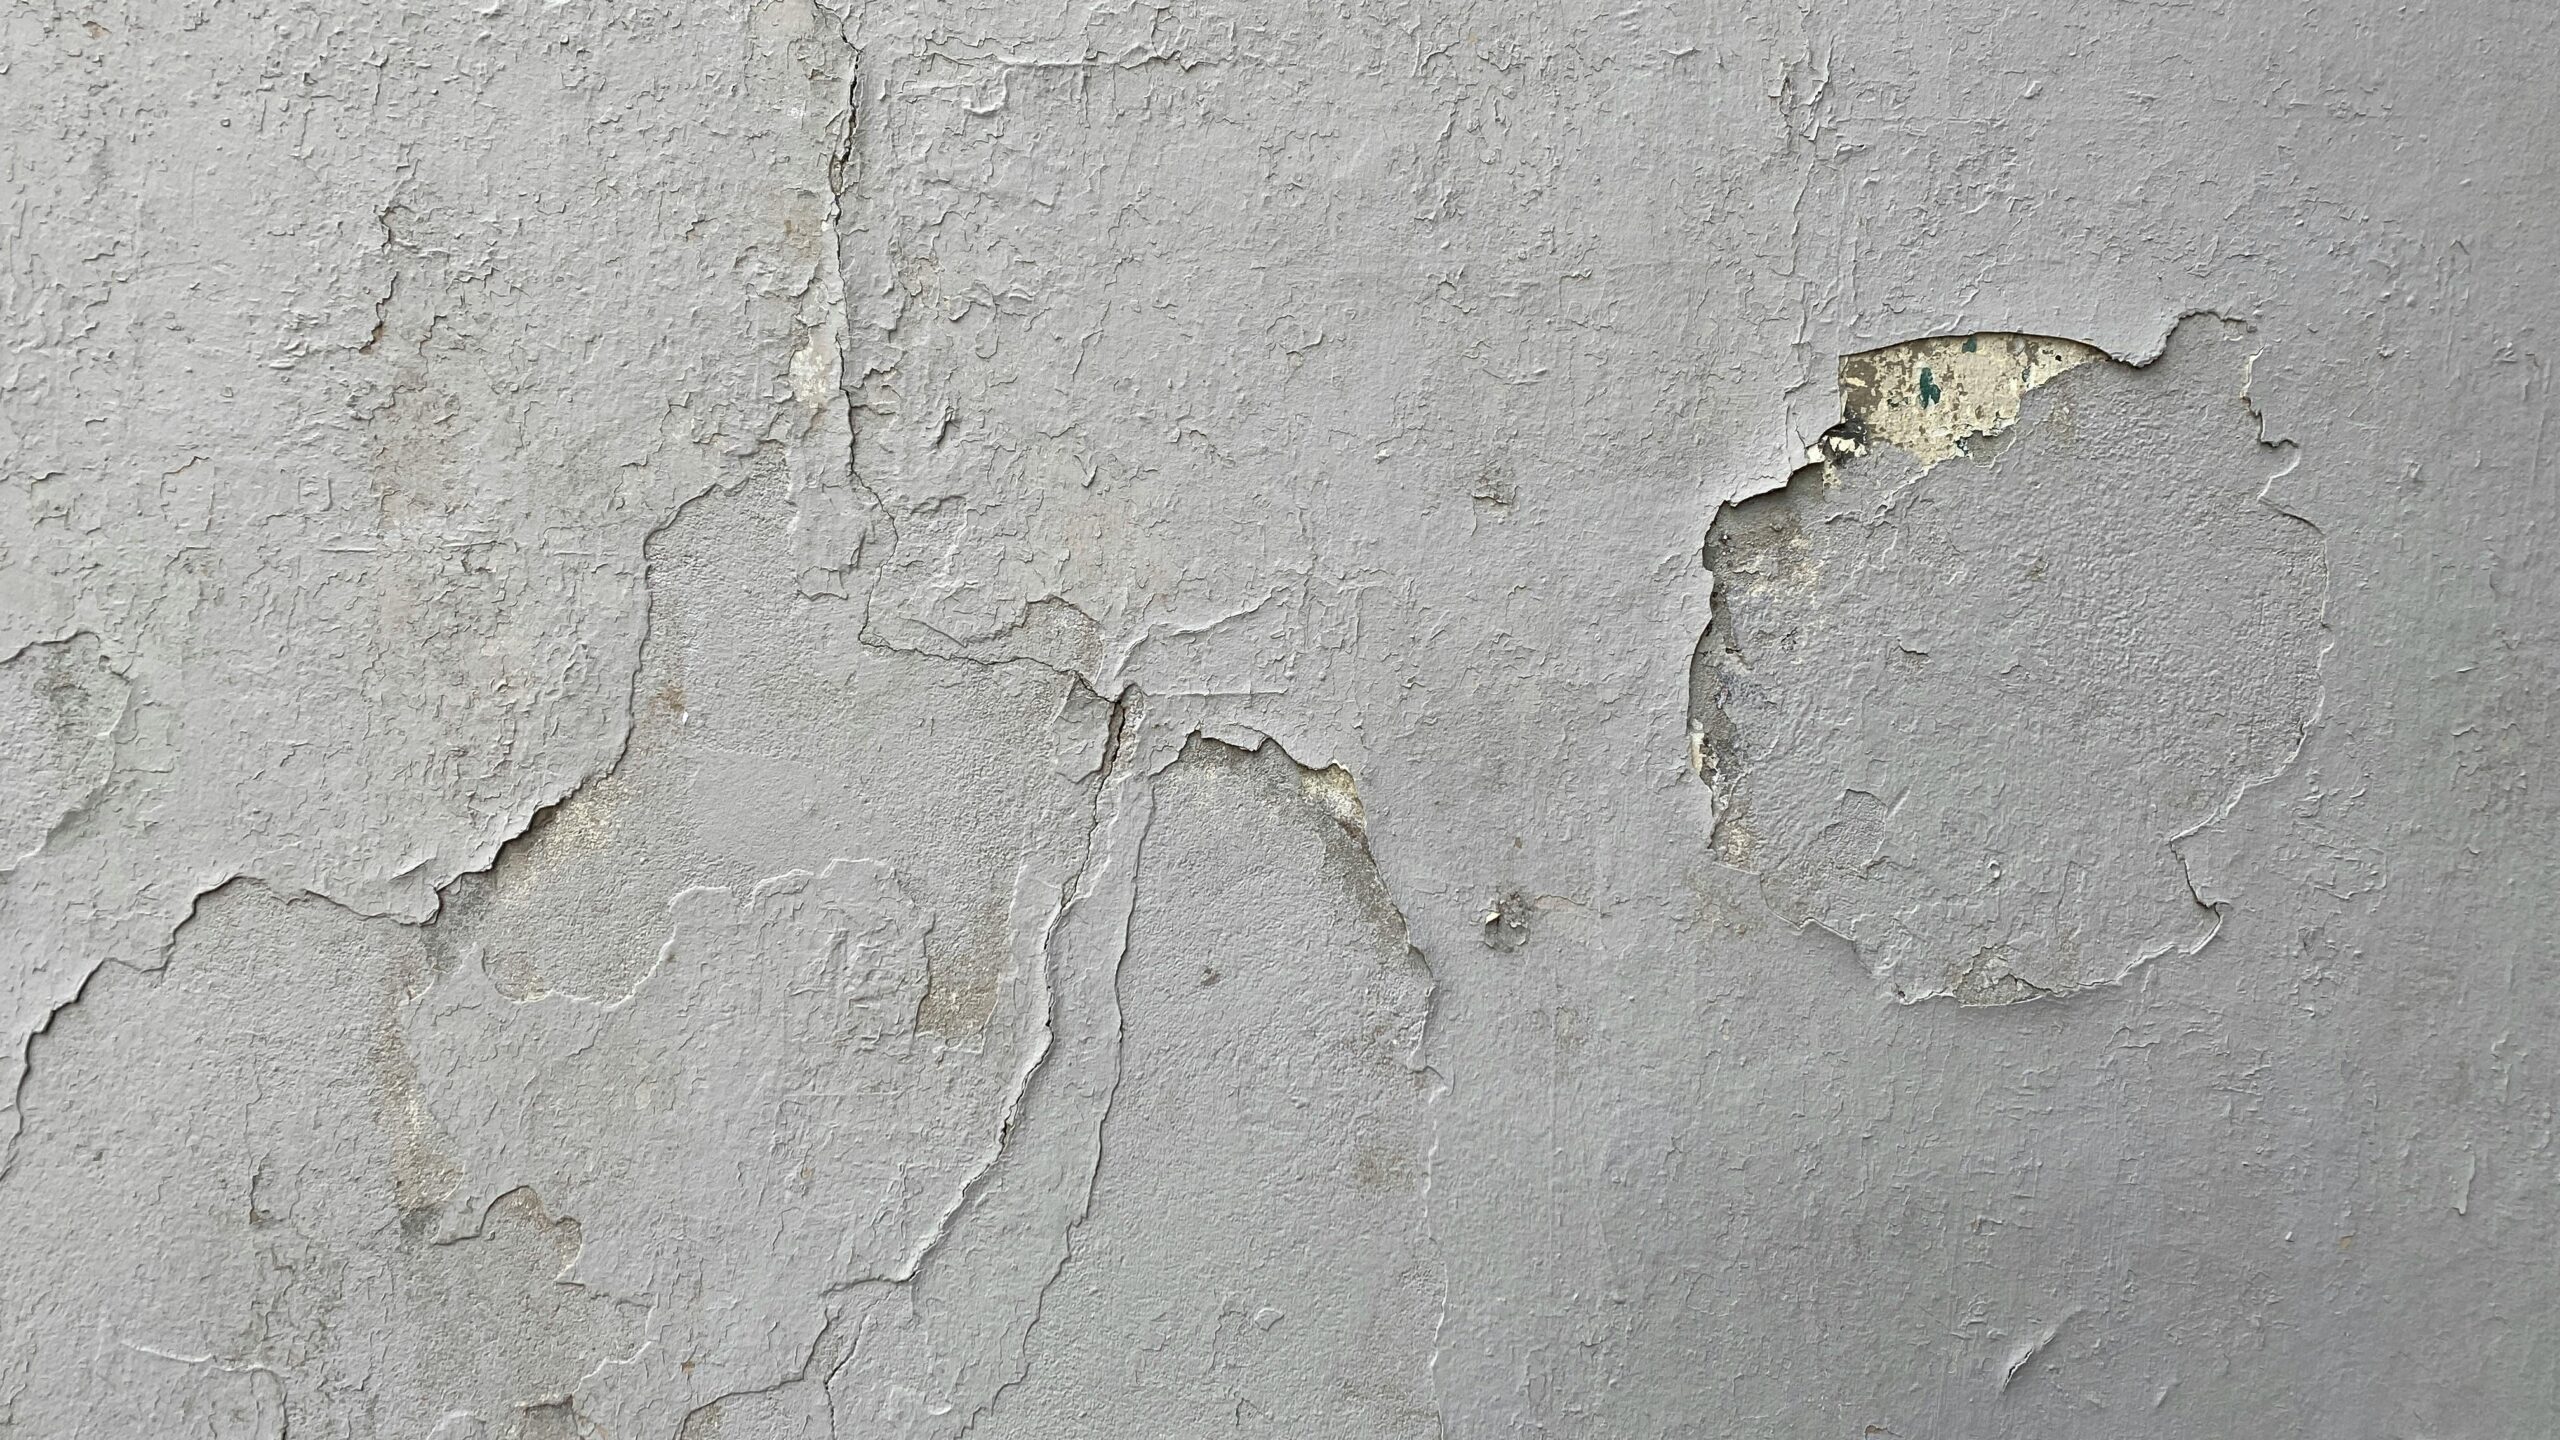
Proper surface preparation accounts for 80% of a successful paint job. Start by cleaning walls with a mixture of trisodium phosphate (TSP) to remove grease, dirt, and mildew. Sand uneven areas using 120-grit sandpaper, and fill cracks or holes with spackling compound. For previously painted surfaces, lightly sand glossy finishes to improve adhesion. Don’t skip priming: stain-blocking primers are essential for covering water damage or dark colors. A well-prepped surface ensures paint adheres evenly and lasts longer.
- Pro Tip: Use a damp cloth to wipe surfaces after sanding to eliminate dust.
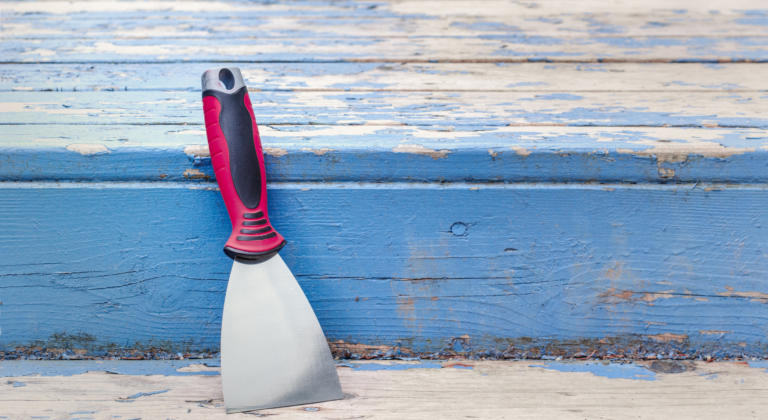
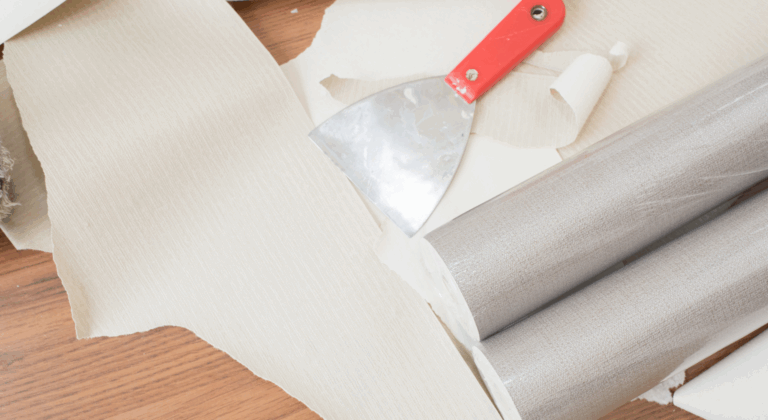
- Common Mistake: Painting over wallpaper or unsealed drywall often leads to peeling.
Choosing the Right Paint and Finish
Not all paints are created equal. Latex-based paints are ideal for interiors due to their quick drying time and low odor, while oil-based options excel on trim and doors for durability. Finishes matter just as much:
- Matte/Flat: Hides imperfections but is less washable (ideal for ceilings).
- Eggshell/Satin: Strikes a balance for living rooms and bedrooms.
- Semi-Gloss: Perfect for kitchens, bathrooms, and trim.
Invest in high-quality paints with higher resin content—they cover better and require fewer coats.
Tools and Techniques for Flawless Application
Cheap brushes shed bristles and leave streaks. Opt for synthetic brushes for latex paint and natural bristles for oil-based. Use a 9-inch roller with a 3/8-inch nap for smooth walls or a 1/2-inch nap for textured surfaces. When cutting in, load only the top third of the brush to avoid drips. Apply paint in a “W” or “M” pattern with rollers, then back-roll to spread evenly. Work in small sections to maintain a “wet edge” and prevent lap marks.
- Case Study: A homeowner reduced their project time by 30% using a paint grid instead of a tray.
Color Psychology and Lighting Considerations
Color choices impact mood and perception. Soft blues and greens create calm in bedrooms, while warm yellows energize kitchens. Test samples on multiple walls and observe them at different times of day. Artificial lighting can alter undertones—LED lights emphasize cool hues, while incandescent bulbs enhance warm tones. For small rooms, lighter shades amplify space, whereas accent walls add depth without overwhelming.
Conclusion: Painting is both an art and a science, demanding attention to detail at every stage. Prioritize surface preparation, select paints and finishes suited to each room’s function, and invest in quality tools to streamline the process. Remember, color choices should harmonize with your home’s lighting and purpose. A well-executed paint job not only enhances aesthetics but also protects surfaces for years. Actionable Takeaway: Before starting, create a checklist covering prep, materials, and drying times. Tackle one room at a time, and don’t rush—patience pays off in professional-grade results.