Why Professional-Grade Paintbrushes Deliver Smoother, Faster, Longer-Lasting Results
A fresh coat of paint can revitalize your home's aesthetic, boost its value, and even influence your mood. However, achieving professional-looking results requires more than just a steady hand. From uneven finishes to premature peeling, common painting mistakes can turn a DIY project into a costly headache. Whether you're refreshing a single room or tackling your home's exterior, understanding the fundamentals of surface preparation, tool selection, and technique is critical. This article distills years of expertise into 10 actionable tips to help you avoid pitfalls, save time, and achieve flawless, long-lasting results. Let's transform your space with confidence!
The Foundation of Success: Surface Preparation
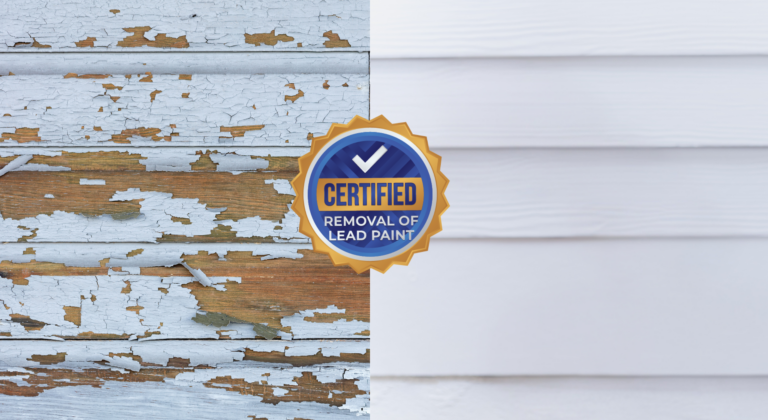
Neglecting prep work is the #1 cause of paint failure. Start by cleaning walls thoroughly with a trisodium phosphate (TSP) solution to remove grease and grime. Repair cracks and holes with spackling compound, sanding smooth once dry. For glossy surfaces, lightly sand with 120-grit sandpaper to create a "tooth" for paint adhesion. Always prime bare wood, drywall, or stained areas—a quality primer ensures uniform color and prevents bleed-through. Pro tip: Use a tinted primer when covering dark walls with light paint to reduce the number of topcoat layers needed.
Choosing Tools and Materials Wisely
Invest in these essentials for smoother application:
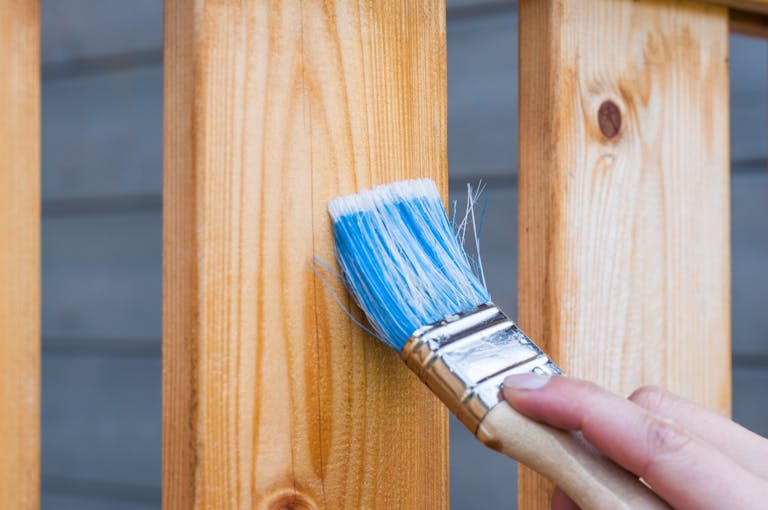
- Brushes: Synthetic bristles for latex paint, natural bristles for oil-based
- Rollers: 3/8" nap for smooth walls, 1/2" for textured surfaces
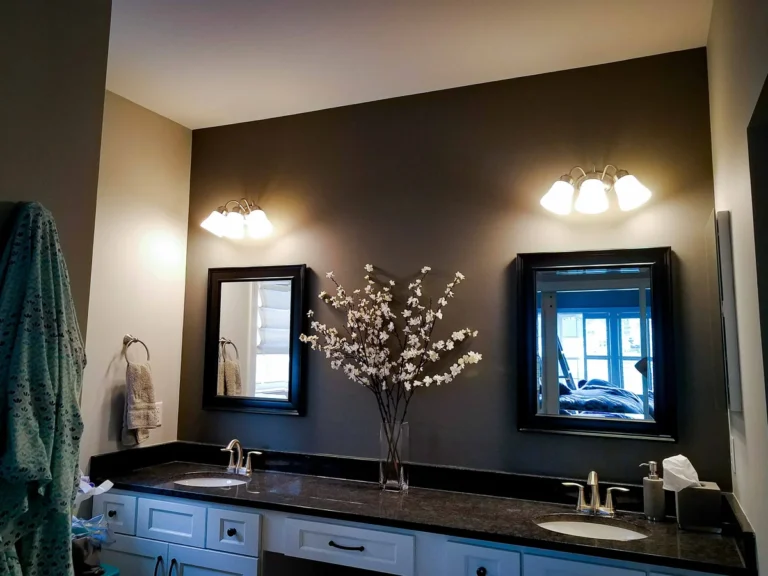
- Paint: Eggshell or satin for high-traffic areas; semi-gloss for trim
Avoid bargain-bin rollers—they often shed fibers. For large walls, use a 5-gallon bucket with a roller grid instead of a tray to minimize refills. Always strain paint through a mesh filter to remove debris.
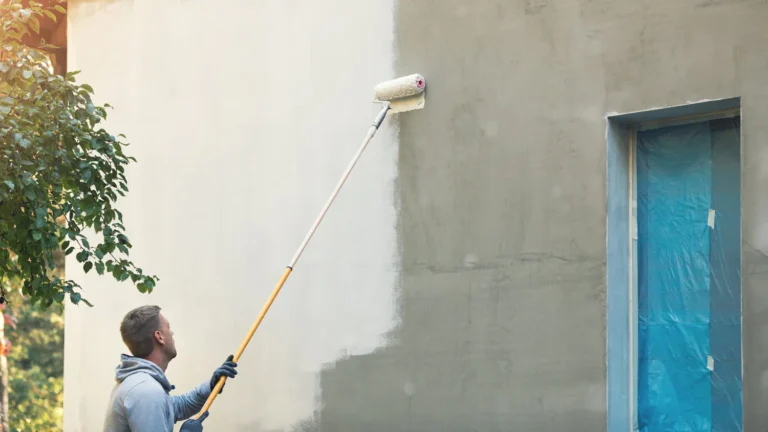
Mastering Application Techniques
Follow this sequence for professional results:
- Cutting-in: Use an angled brush to paint edges within 2" of ceilings, corners, and trim.
- Rolling: Load the roller evenly, then apply paint in a "W" pattern to distribute product before filling in vertically.
- Maintain a wet edge: Work in 3'x3' sections to prevent lap marks where wet paint overlaps dried areas.
Apply two thin coats rather than one thick one—this reduces drips and improves durability. Sand lightly between coats with 220-grit paper for glass-smooth finishes.
Troubleshooting and Long-Term Care
Address these common issues promptly:
- Drips: Sand smooth once dry; touch up with a brush.
- Brush marks: Add a paint conditioner like Floetrol to improve flow.
- Mildew: Clean with a bleach solution before repainting moisture-prone areas.
Preserve your work by cleaning walls annually with a microfiber cloth and mild detergent. Keep leftover paint for touch-ups—store cans upside down to create an airtight seal.
Painting success hinges on meticulous preparation, quality tools, and patience. Remember: 80% of the work happens before you even dip a brush. By following these guidelines, you'll avoid common errors and create finishes that look professionally crafted. Ready to start? Assemble all materials first, work in natural light, and don't rush drying times. Your walls will thank you with years of beauty and protection. Now grab that roller—your dream space awaits!